
A product video shot list translates a marketing promise into footage the editor can use. Begin with one use case rather than every feature. A desk lamp might solve poor light during detailed work; a bag might make a specific daily journey easier. Write the situation, the action and the visible result. If the benefit cannot be shown directly, decide what honest explanation or demonstration will make it understandable.
Storytelling and structure
Product Video Shot List: Plan a Reel You Can Actually Edit
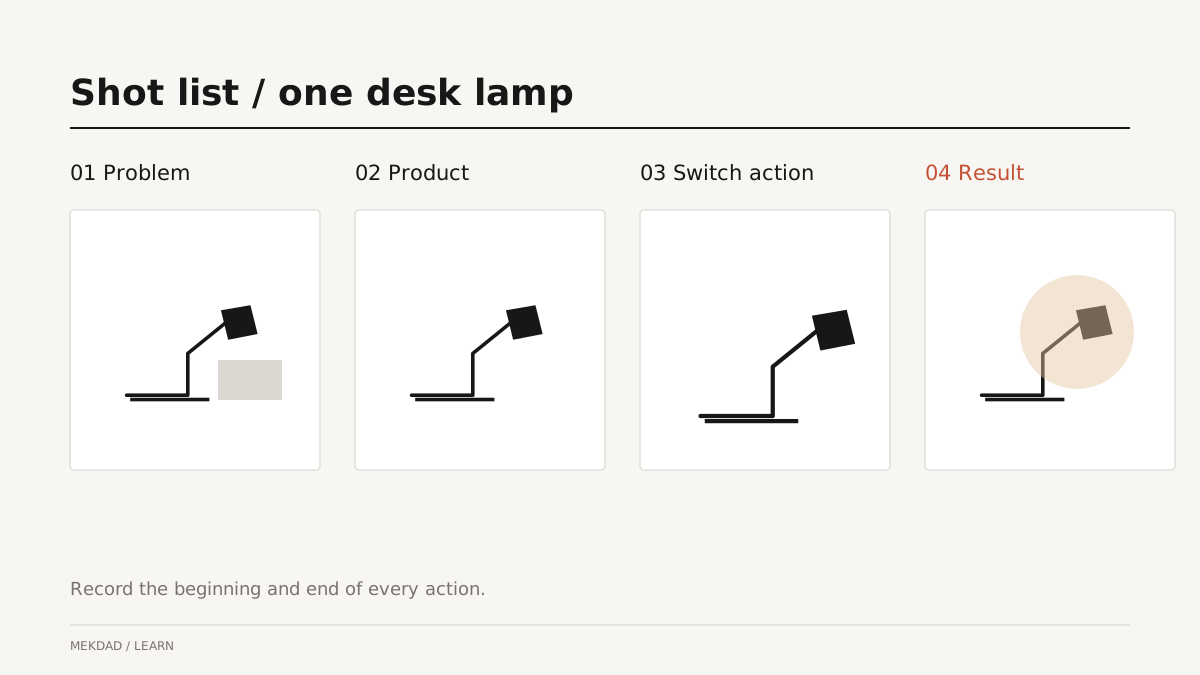
Start with one use case
Build the minimum useful sequence
Capture the situation before the product appears, the product in context, the person using it and the result. Add a clean product view for recognition and an ending that leaves room for the next action. This sequence is an editorial starting point, not a promise that every video needs the same structure. A familiar product may need little introduction; an unfamiliar mechanism may need a much closer demonstration.
Make every camera angle answer a question
Use a wider shot to show where the action happens, a medium shot to show the person interacting with the product and a close-up to explain the important detail. Do not collect close-ups only because they look cinematic. If the audience cannot tell what changed, the image is decoration. Record the beginning and end of each action so the editor can choose the exact cut instead of hiding a missing moment.
Protect continuity while shooting
Repeat important movements at a similar speed and keep the direction of action consistent across angles. Photograph the setup before moving objects. Note which hand holds the product, whether a lid is open and where the light falls. Small differences may be invisible during filming but distracting when shots sit next to each other. Capture a neutral detail or reaction as an alternate edit point, while keeping the main action complete.
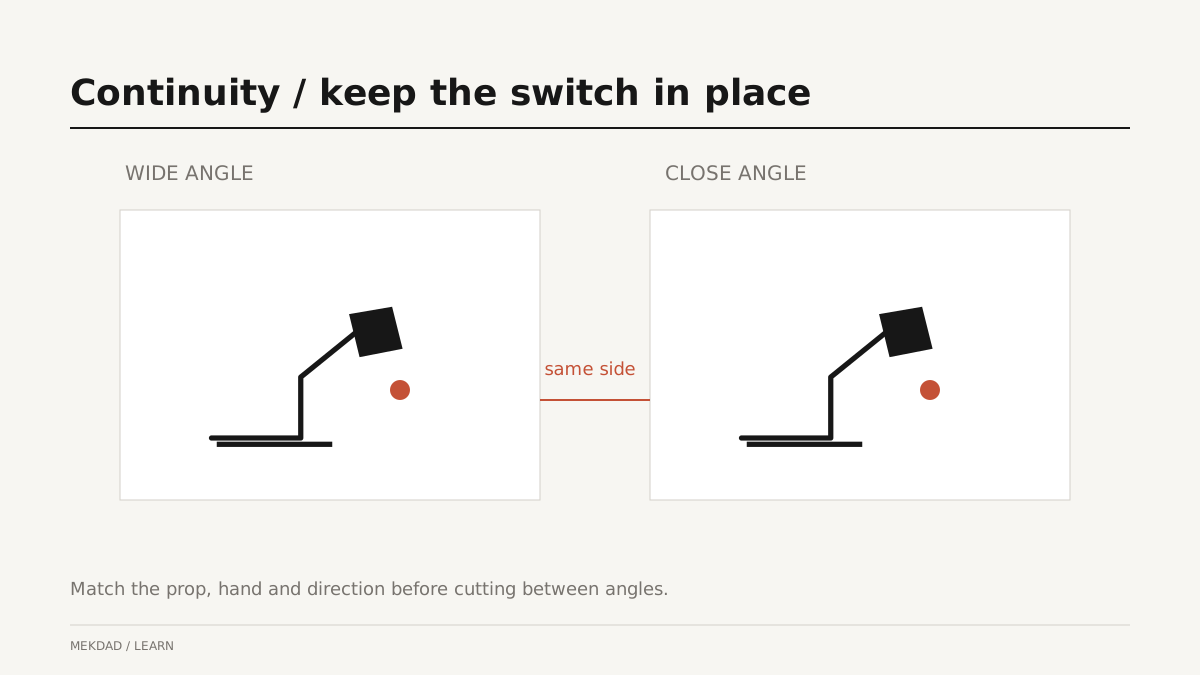
An example: a compact desk light
For an illustrative Reel, show a hand struggling to read a small label in weak light, then place the lamp, turn it on and show the same task under better illumination. Film the switch close-up and a wider result from a matching position. Avoid changing unrelated conditions to exaggerate the comparison. The shot list should specify what the audience needs to see, not just labels such as beautiful shot or cinematic angle.
Plan sound, text and delivery
Record useful natural sounds separately when practical: a switch, a click or a material movement. Leave visual space for captions and avoid putting critical details at the edge of a vertical crop. Ask for the original files, organized by scene and take, rather than compressed messenger copies. Include the brief, preferred takes, pronunciation notes and any restrictions on claims. Clear preparation reduces avoidable editing questions without pretending that revisions disappear.
Questions to settle before filming
How many shots do you need? Enough to explain the action and offer clean edit points, with additional coverage for important moments. Must the product rotate on a turntable? Only if that helps explain its form. Is a phone enough? Evaluate the lighting, focus, audio and delivery requirements through a test shot. A more expensive camera does not supply a missing story or a missing result.
Turn the shot list into a finished edit
First assemble the action without effects and check whether the sequence makes sense. Add captions, sound and color after the core demonstration works. Review our guide to sound design for Reels and browse finished work for context. For a series, reuse the production checklist while giving each Reel its own problem and payoff. This creates consistency without producing five copies of the same advertisement.